‹ INSIGHTS | RETAIL BETTER BLOG
Food Photography Shoots from Start to Finish - Part 3
May 8, 2024 by Steven Cohen – One of the most critical stages of any photo shoot is planning what you want your photographs to look like. There are several ingredients that go into this very important step.
It all starts by understanding how your images will be used. This very important component helps direct the process. For example, if you know that you need images to support promotions and need to use them in different ways, you may decide to shoot the products on white. Shooting images on white gives you the ability to silhouette them out. If you’re looking to make a brand statement, that may take you in a different direction.

Art Direction Begins With “Buckets”
When we meet with clients to discuss art direction for a shoot, we discuss their vision for the images – such as end use. Creating photo “buckets” helps.
- Photo Bucket One: Very simple images where the product is shot on white.
- Photo Bucket Two: We refer to these images as “somewhere, but nowhere” – a very simple, lightly styled set of images. It’s smart to create a set of images shot with an out of focus background. This allows images the freedom and flexibility to be used in many different locations.
- Photo Bucket Three: These photos are propped heavier allowing the images to tell a story. This bucket or level requires the art director and stylist to take on a larger role and a prop library comes into play.

4 Things to Keep in Mind During Your Photo Shoot
It always starts with the product. It’s important that your images are an extension of your brand. At this point in the planning process, be sure to discuss these four topics with your photo team.
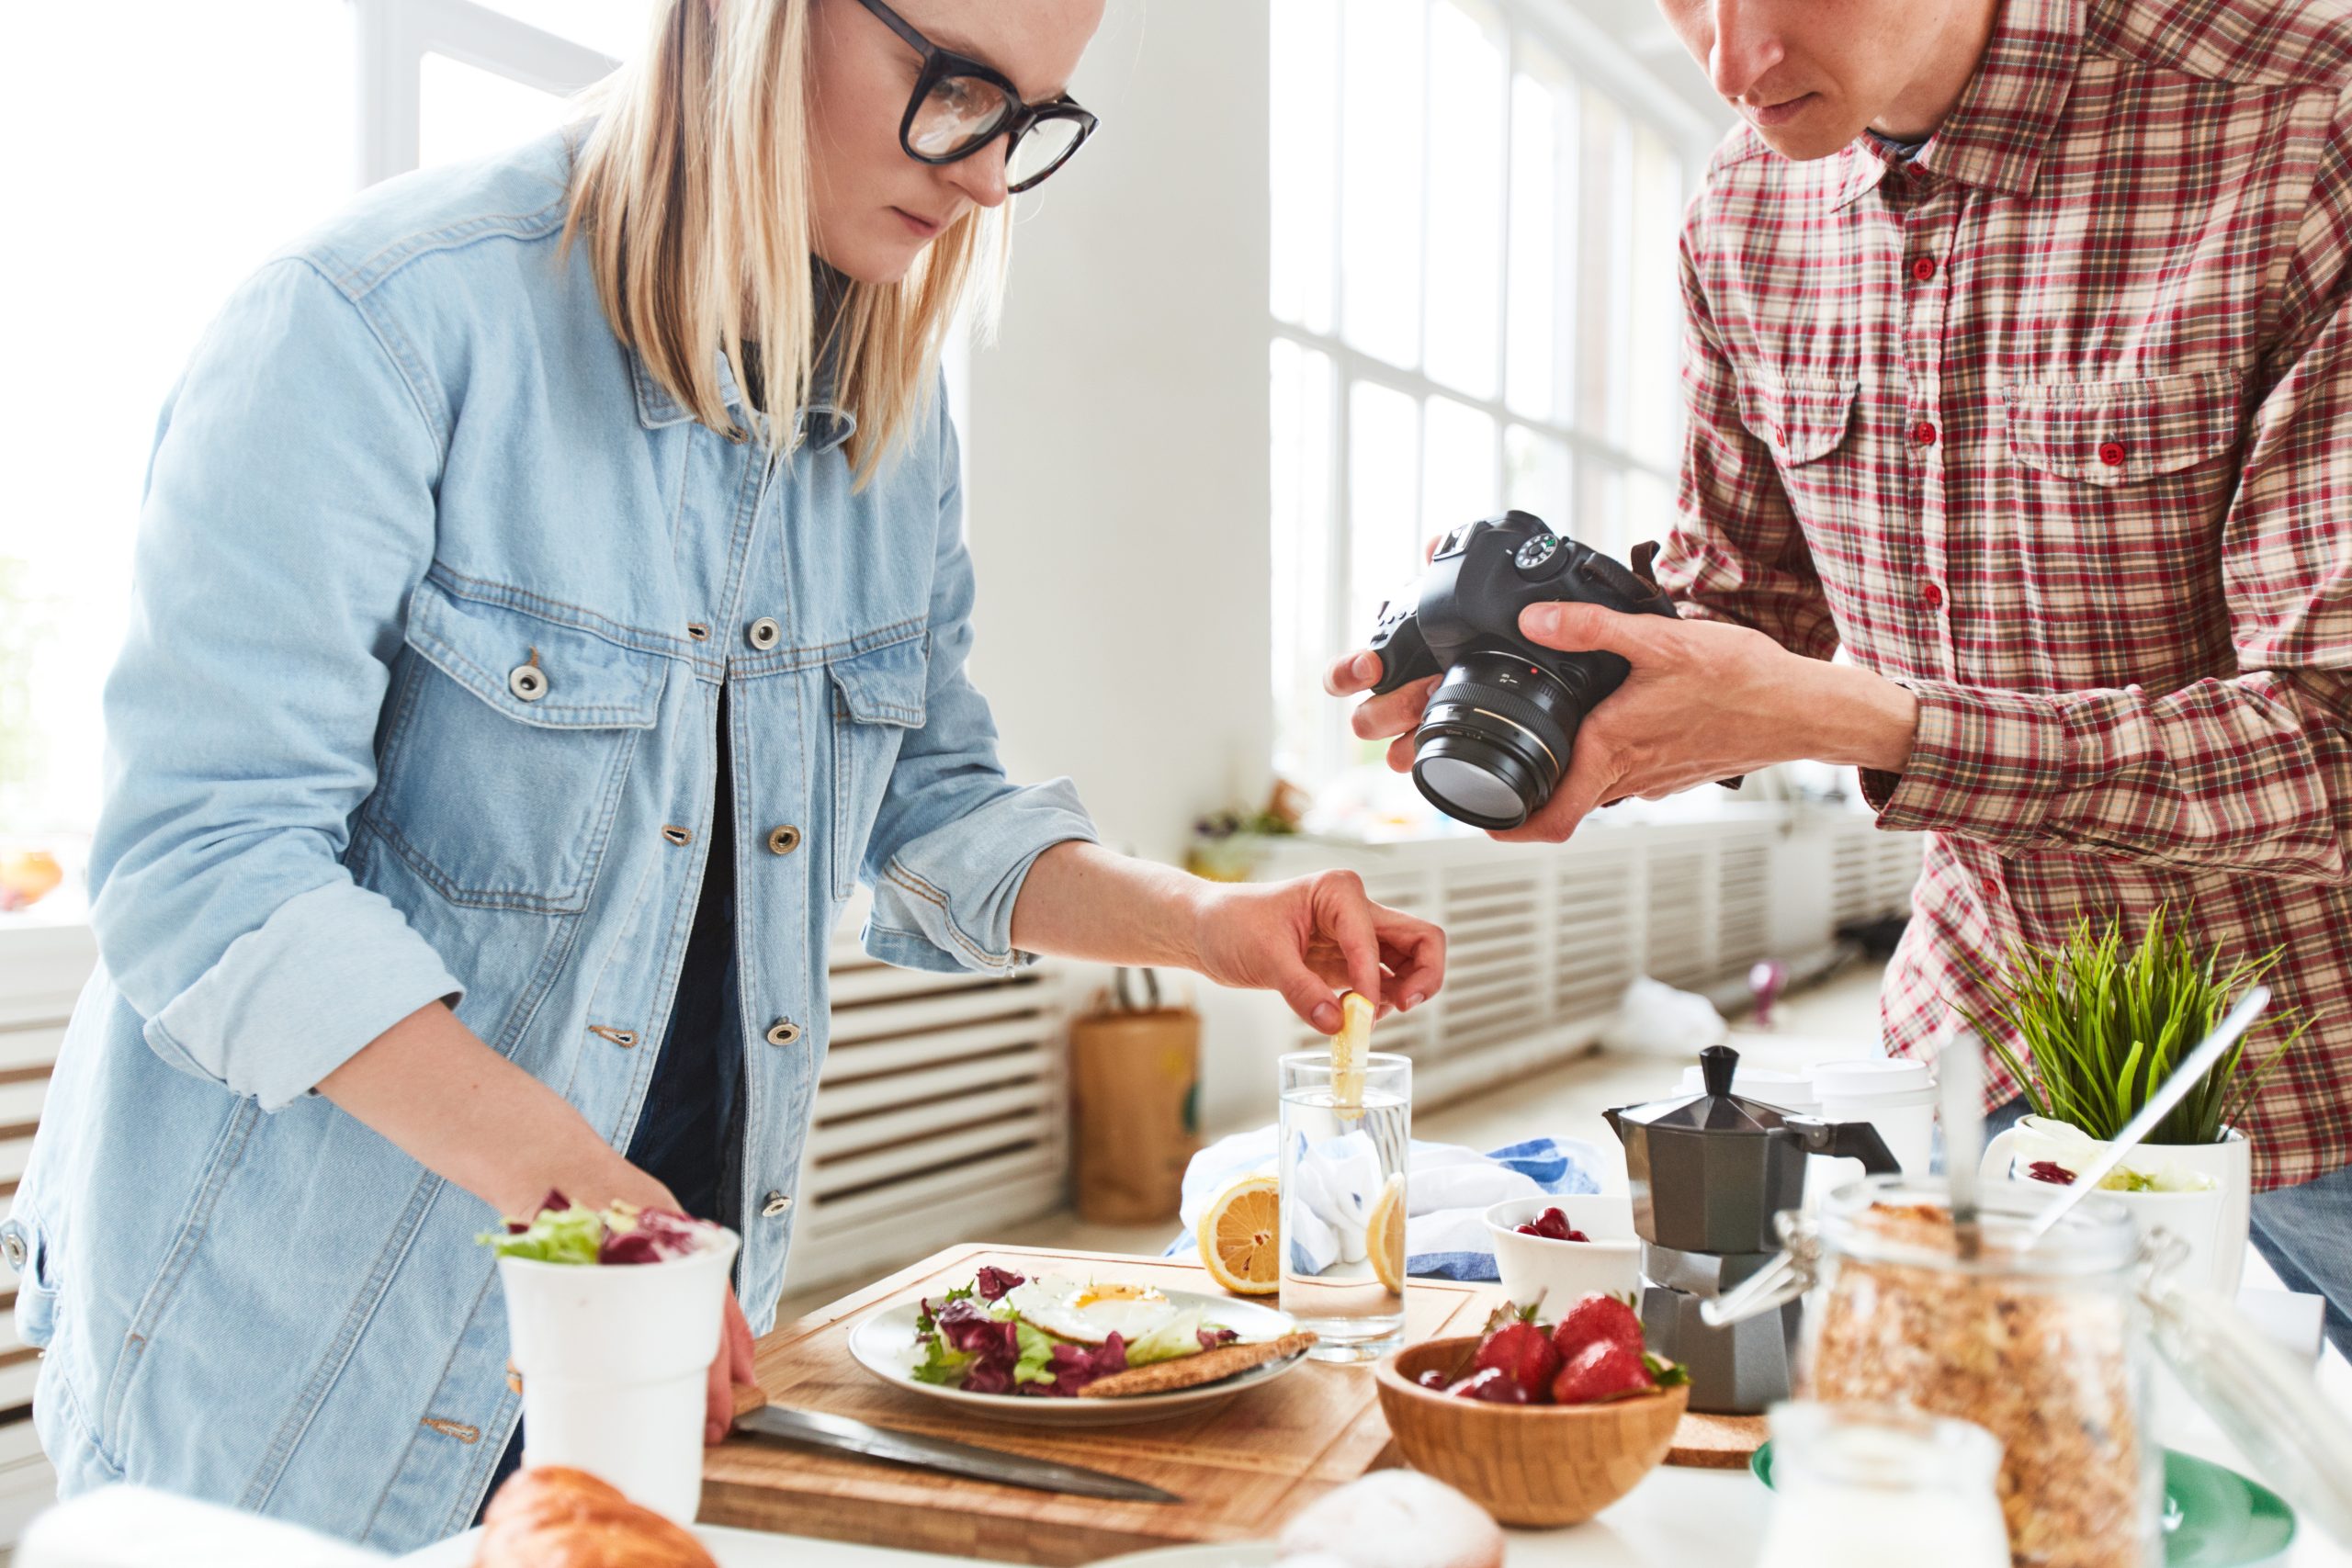
- The Styling – This conversation focuses on how you want your food styled as well as what props you would like to use.
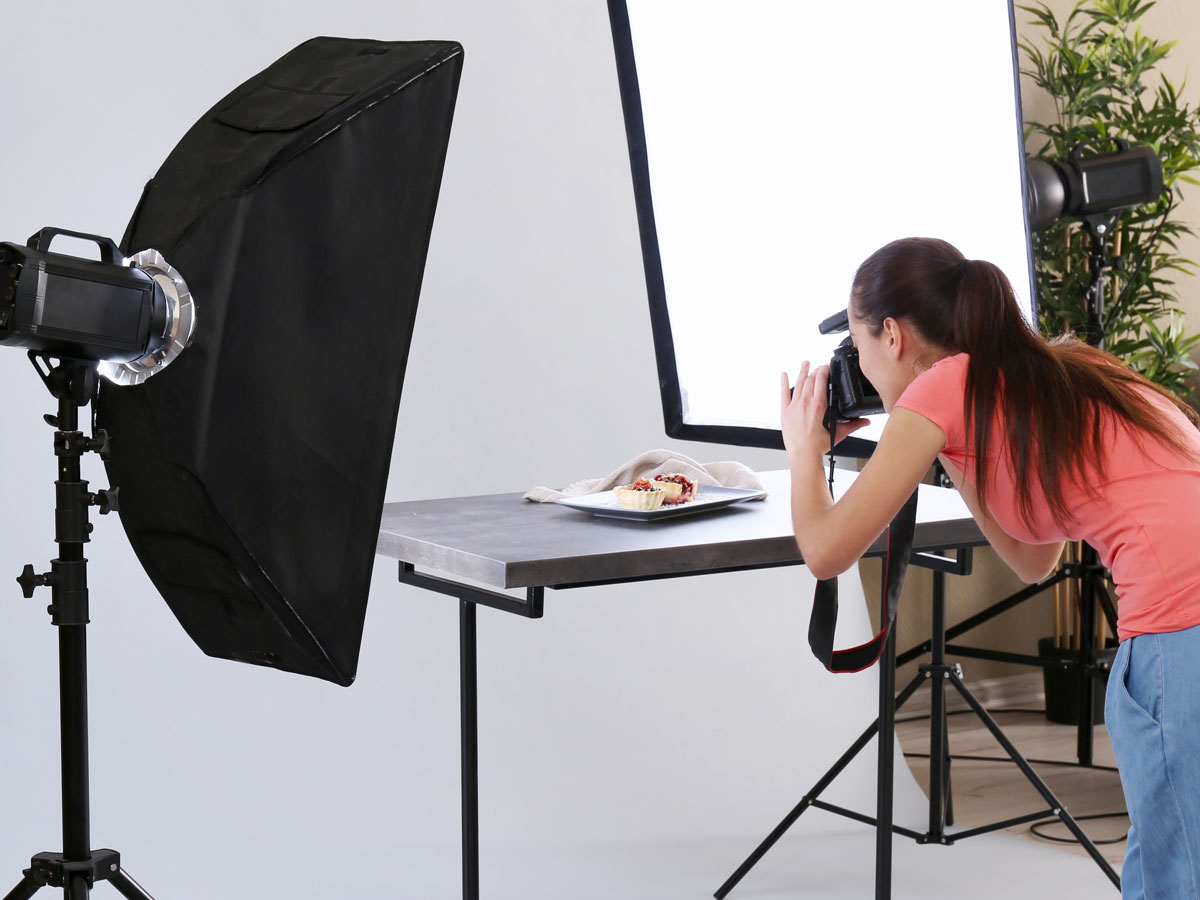
- The Lighting – Your photographer and art director own this – together they will decide just the right lighting for you and successfully achieve your desired results.
- The Composition – How the shots will be used, in the most simplistic terms, are they vertical or horizontal? Now’s the time to decide if you need one of each for every shot set up. A skilled photo team can help accommodate you. Think about leaving space or room for copy or text alongside your images during this stage as well.
- The Color Palette – Your art director will share different color possibilities with you. To allow photos to work well together, it’s best to keep your color palette simple while shooting multiple shots. Choose backgrounds and props that play nicely off each other. For example, a neutral palette with a pop of color. Remember, the colors you work with need to support your brand, the season, and complement your product. The simpler the better.

Final Thoughts and Words of Wisdom
- When finalizing the direction of your shoot, always schedule a test shot to make sure you absolutely love the direction before starting the shoot.
- If you’re on set and the shot is not working, do not labor over it. Move on. Try something different.
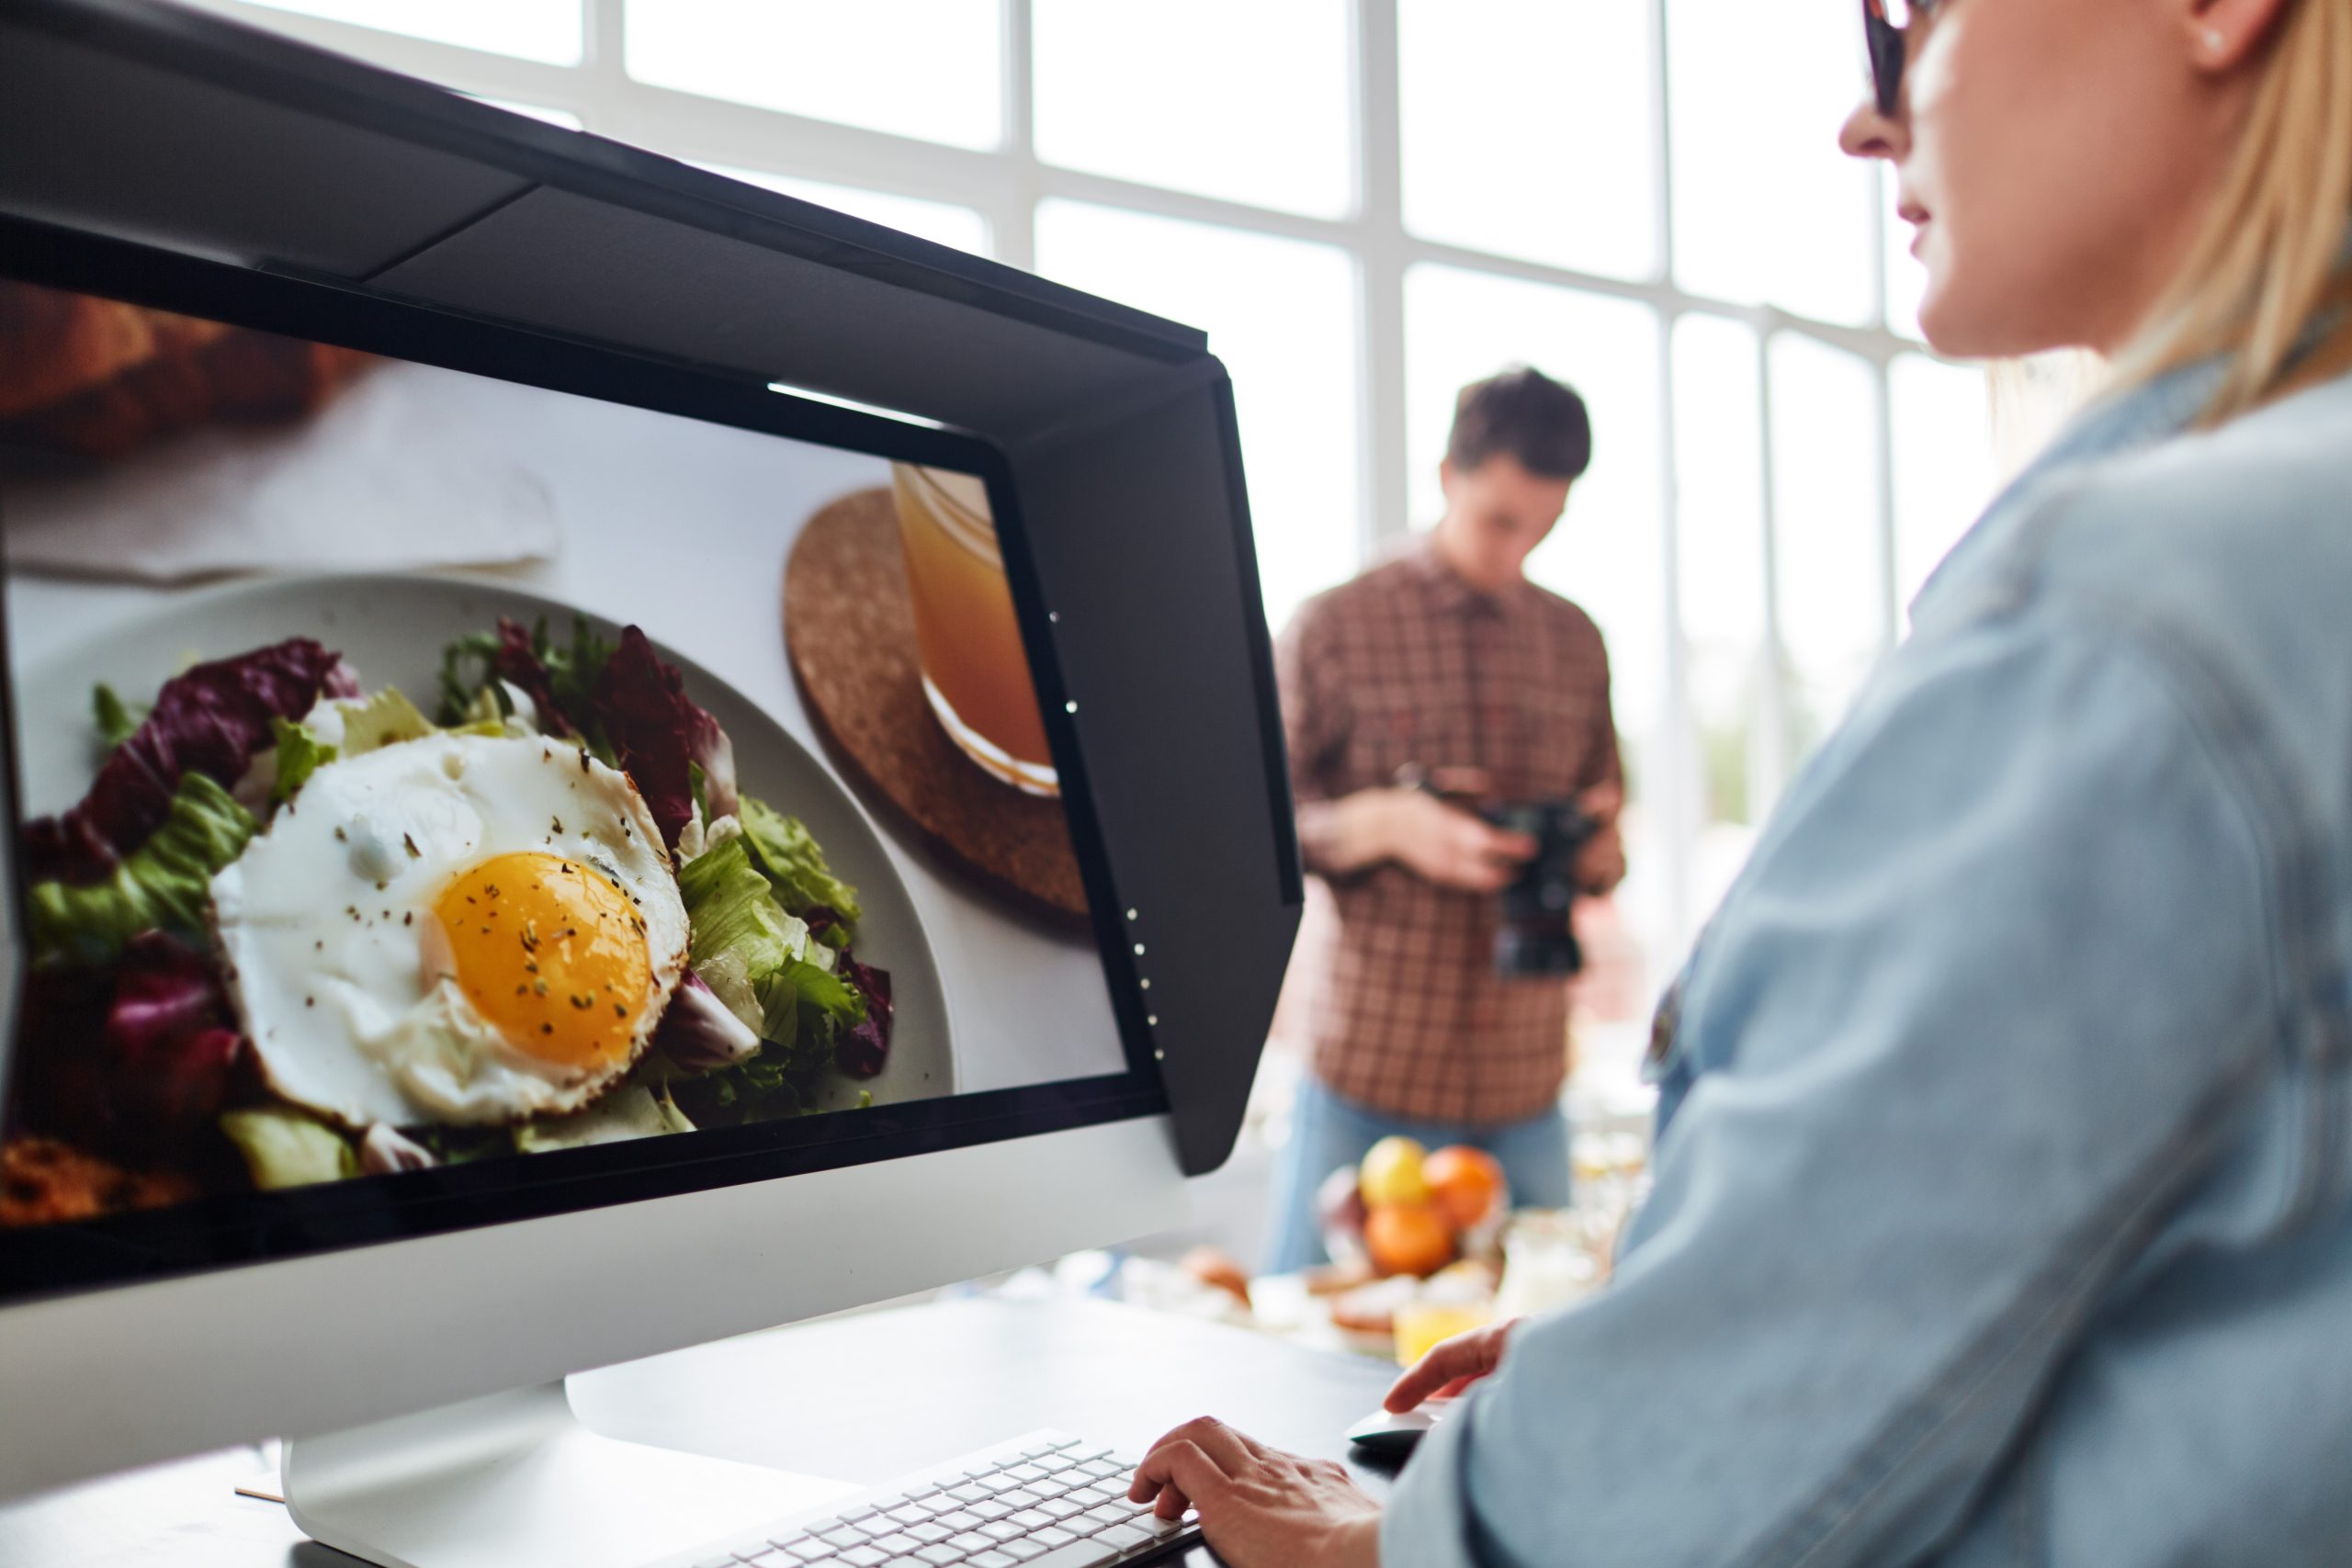
- Solve photo issues immediately while on set. Don’t rely on Photoshop for quick fixes as that can lead to a multitude of problems.
- Have fun and be creative. Most importantly, make your product the hero. It always works.
Read Part 1 and Part 2 of our Food Photography Photo Shoot blog series to learn more. Thinking of setting up a photo shoot? Contact our team today.


